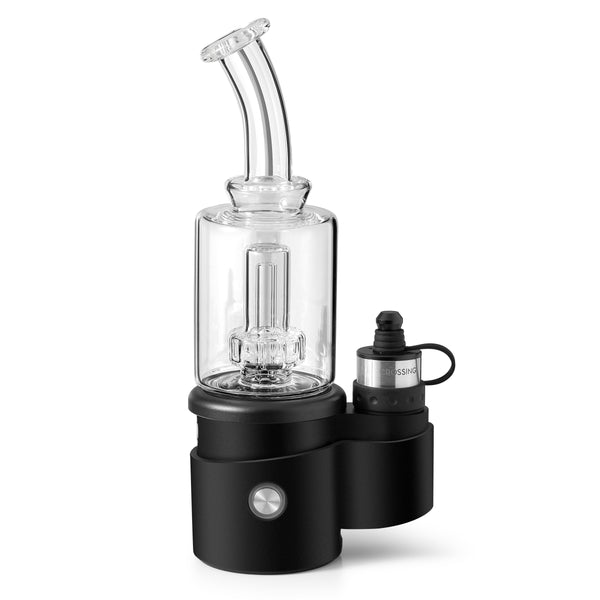
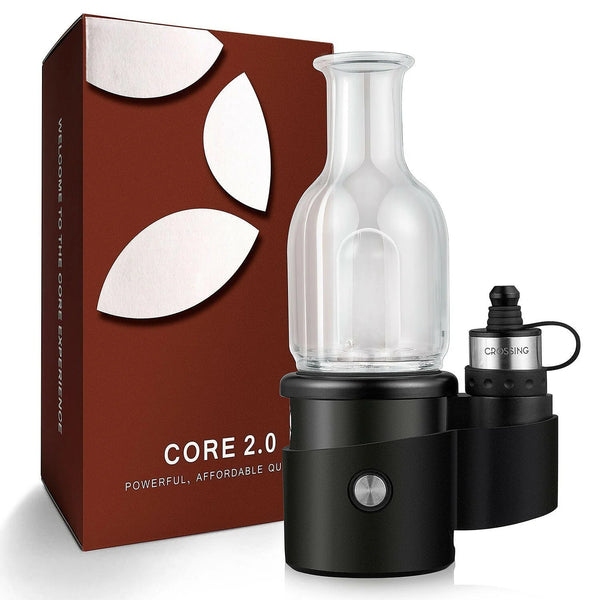
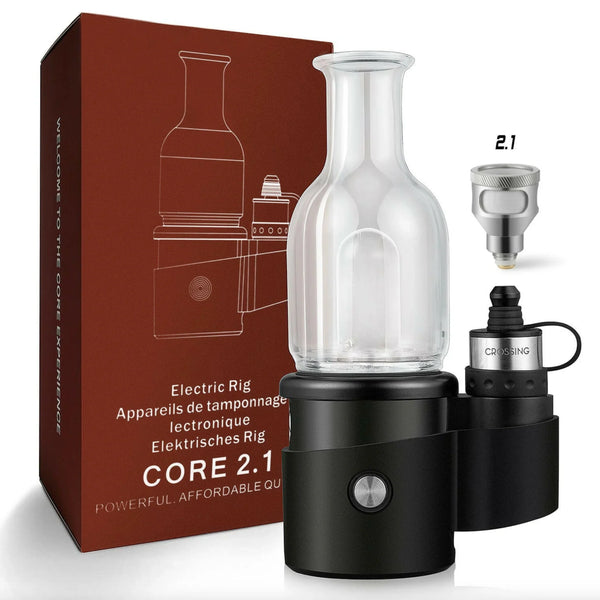
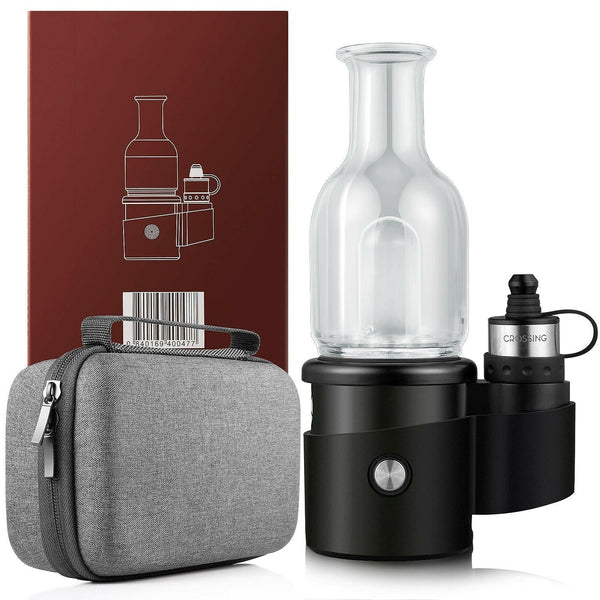
Crossing Core 2.1 | 2.0 Mini Matrix Bubbler E-Rig Kit
Model Choice: 2.1 or 2.0
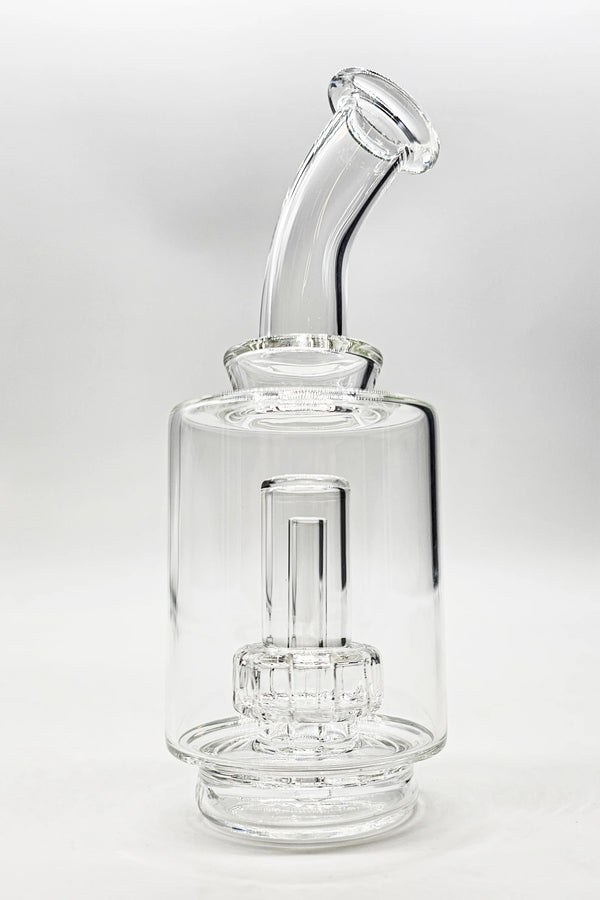
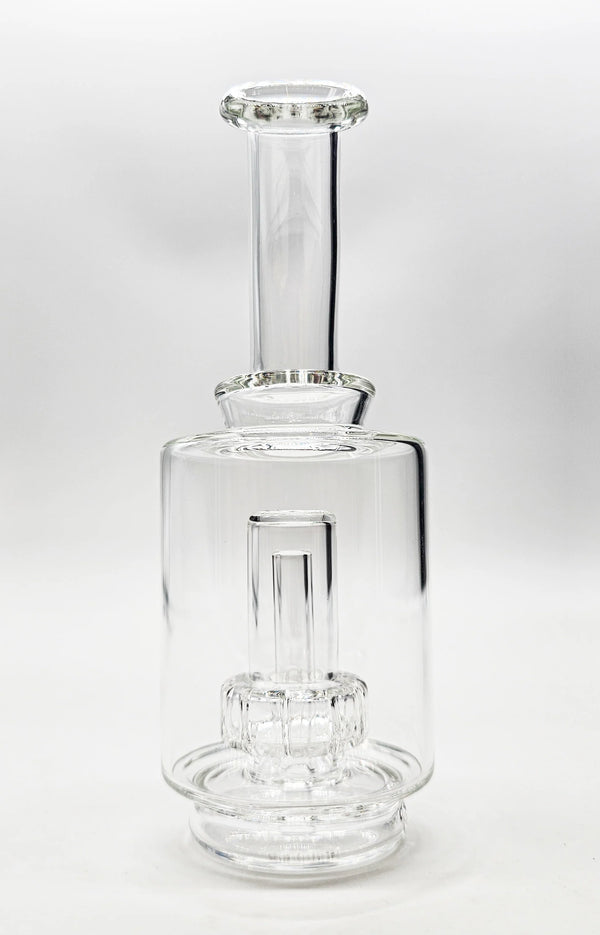
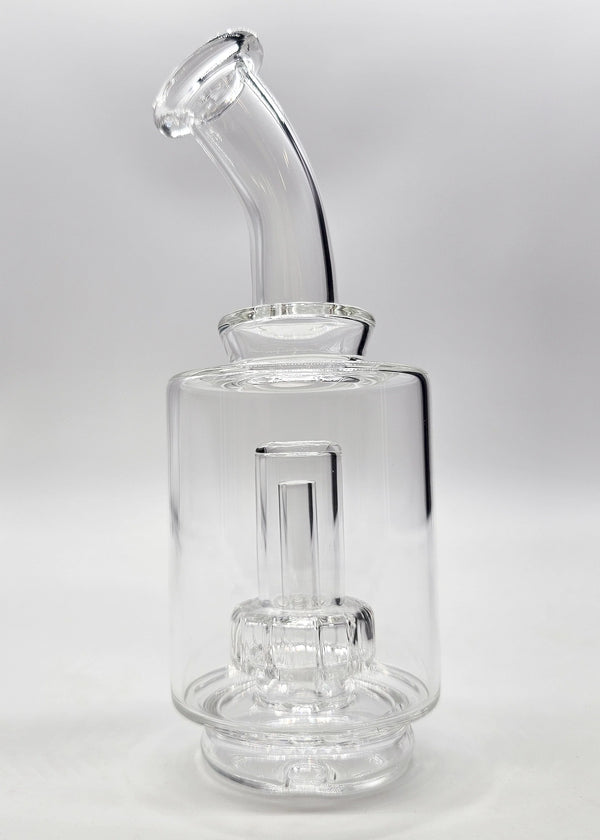
The Matrix Bubbler for the Core 2.0 and Core 2.1e-rigs provides the smoothest vapor available for these setups. Inside the bubbler there is a Matrix style percolator that provides excellent vapor conditioning and surprisingly free flowing air, with air flow being limited mainly by the Carb cap. Included in the design is an angled mouthpiece that is long enough to comfortably inhale through while loading in your dabs.
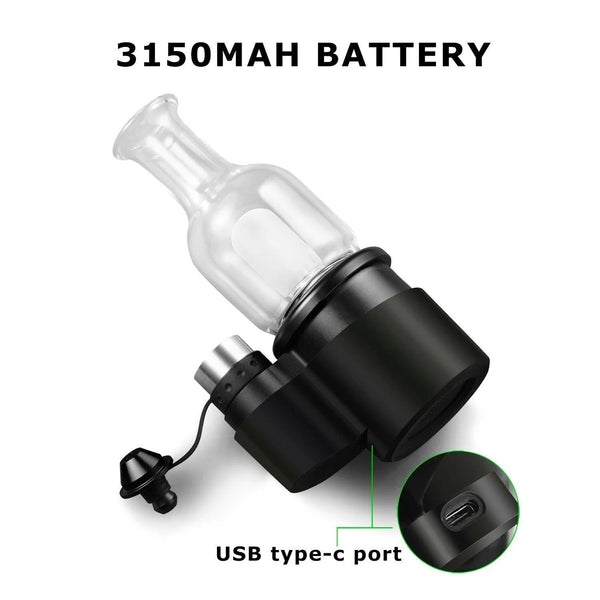
The Crossing Core 2.1 is a significant upgrade over the Original Crossing Core in several key areas. Firstly, the Core 2.1 features a more powerful 3150mAh battery, providing longer and more consistent performance compared to the Core 1.0. This means that you won't have to worry about running out of power during your dabbing sessions.
Non Rebuildable 3D Atomizer:
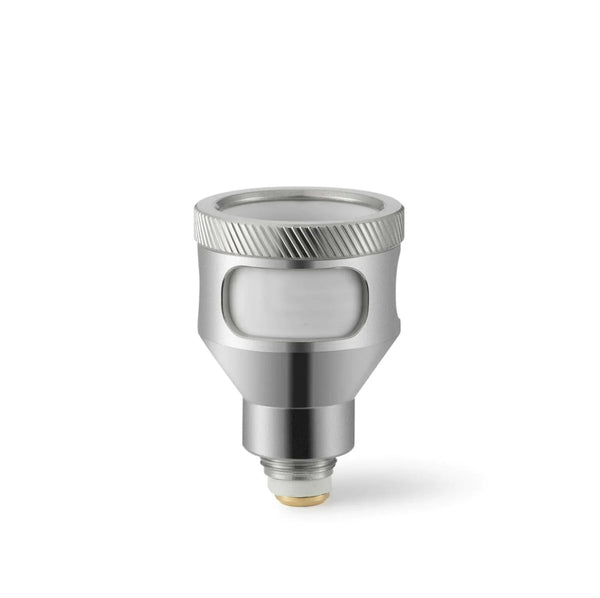
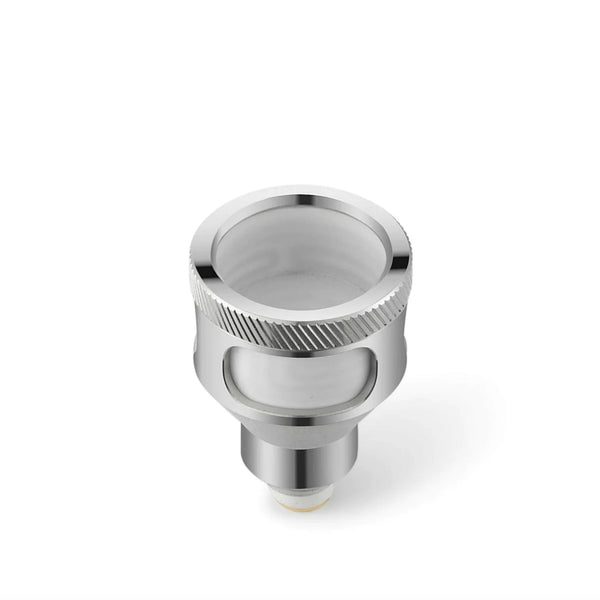
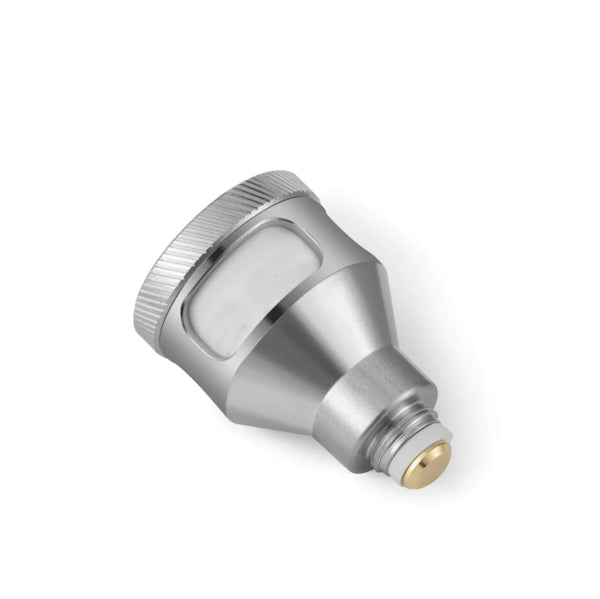
The Core 2.1 features a non rebuildable 3D atomizer which will provide a much higher overall quality. It also removes the need for the tools required to dismantle and put together the Atomizer. Shenzhen Crossing understood that most consumers look for relaxation when vaporizing and the extra rebuild step is simply not worth it. They've been designed for people who aren't comfortable rebuilding their setups. Simply unscrew the old and screw in the new!
* Direct Heat from the Ceramic Bucket
* Ceramic and Stainless Steel Build
* Larger Vapor and Better Taste
* Quicker Warm-up
* Exchangeable
Another major improvement in the Core 2.1 is its precision temperature control system, which allows you to set your desired temperature with greater accuracy. The newest version features 4 temperature settings that are indicated by a color. This results in a much more consistent and enjoyable dabbing experience, as you are able to fine-tune the temperature for your specific concentrates and oils.
Core 2.1 runs a rock solid non rebuildable 3D atomizer, no wire based coils
Atomizers contain only Metal and Ceramic, silicone and PEEK has been replaced with an all ceramic design
larger 3150mAh battery
Four heat settings are now all for the 2.1 3D atomizer
Decreased pre-heat time
Increased session time
Increased total run time (80 second full run time)
Improved button function
Core 2.1 Features:
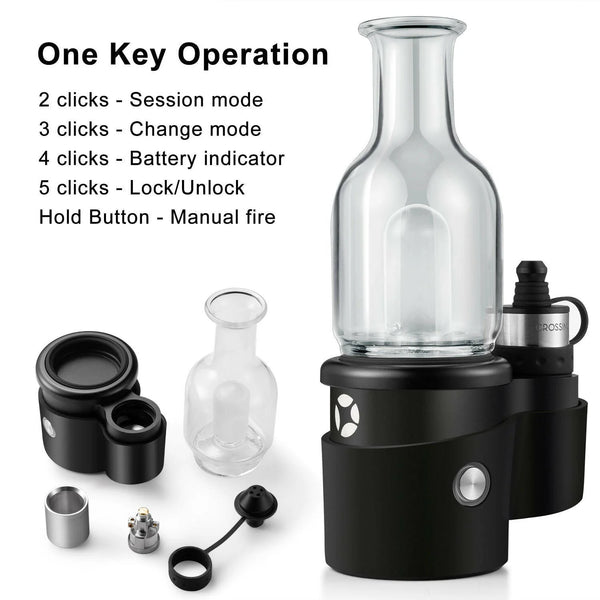
One button functionality for ease of use
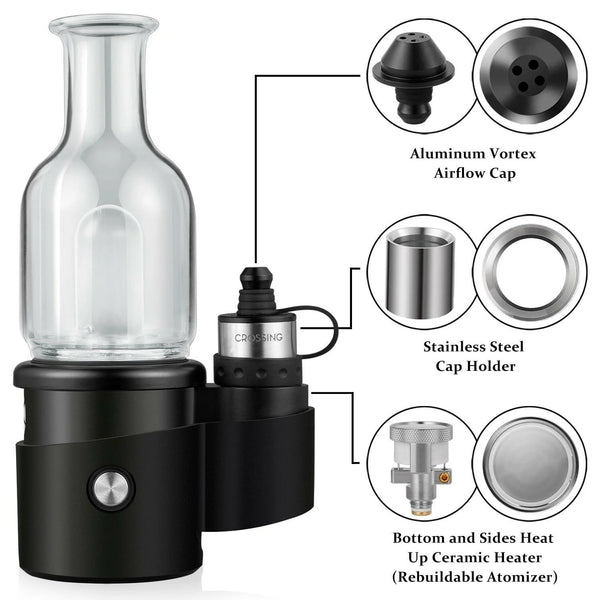
Fully heated high polish ceramic vaping surface – elements inside base and walls of heater
Non-Rebuildable atomizer
Vortex Airflow – Aluminum spinner carb cap with carb cap tether
Borosilicate Glass Bubbler
Stainless Steel Carb Cap Tube
Four carefully tuned heat settings
Isolated Aluminum and Glass Vapor Pathway
Low maintenance
Approx. 1 hour 45 minute charging time
3150mah Li-Ion Battery Pack.
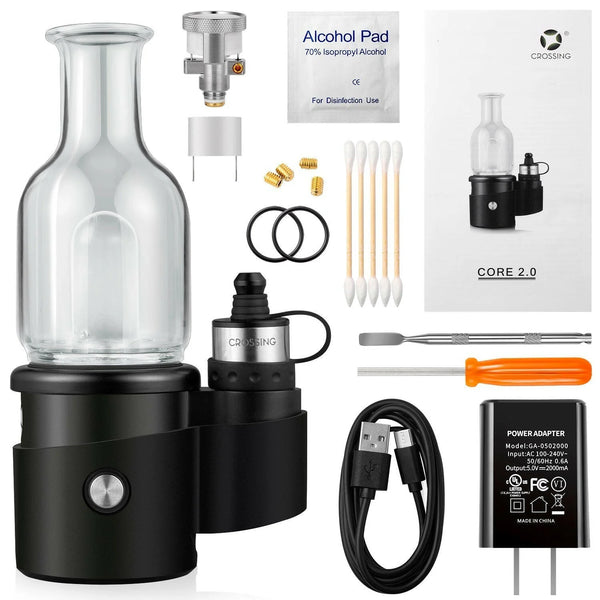
What’s Included:
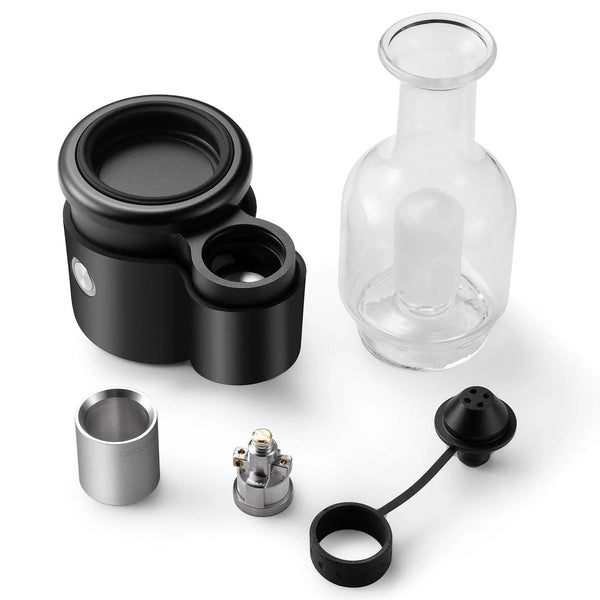
Core 2.1 E-rig Base
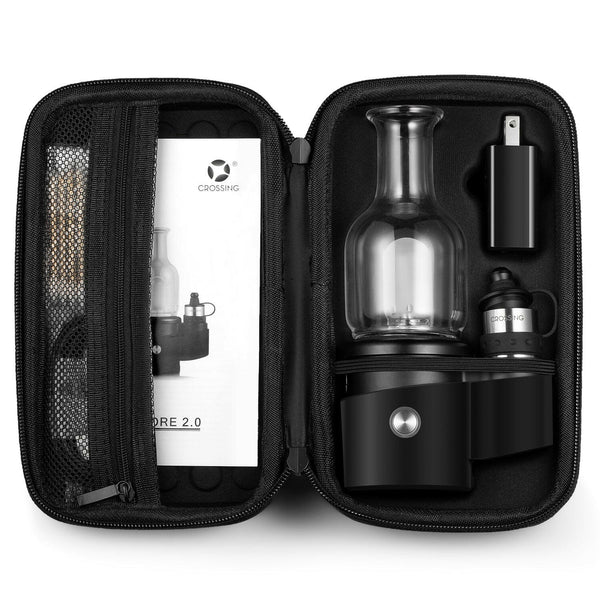
Core Bubbler + Mini Matrix Glass
Aluminum Spinner Carb Cap (based on our design)
Carb Cap Tether (black)
Silicone Base Cover/Sleeve (black)
2.1 3D Atomizer
SS316 Dab Tool (based on our design)
2 x Spare Carb Cap Tube O-rings
1 x Wall Plug – US inside – UK included for UK orders
1 x USB-C Charger
Cotton buds/Q-tips
Alcohol wipes
Upgraded Carry Case
Button Functions:
Hold – Manual fire up to 60 seconds
Two clicks – Activate session mode – One click to cancel
Three Clicks – Change heat setting
Four Click – Display power level – Red/Low – White/Medium – Green/Full
Five Clicks – Lock or unlock Core 2.1 Base
Sessions times and temperatures
The total session time for the Core 2.1 has been upgraded to 80 seconds, this includes the pre-heat time.
Blue – 12.5 second pre-heat – Approx. 400°
Green – 13 second pre-heat – Approx. 425°
White – 17.5 second pre-heat – Approx. 465°
Red – 22.5 second pre-heat – Approx. 500°
Setup
Charge your base using the provided wall plug and cable.
Fill the bubbler from the top, when it is removed from the base. Ensure any excess liquid has been wiped away and that no water has flooded into the bottom compartment. If this happens turn the bubbler upside down and blow into the air hole at the bottom to clear this section. Then re-fill from the top.
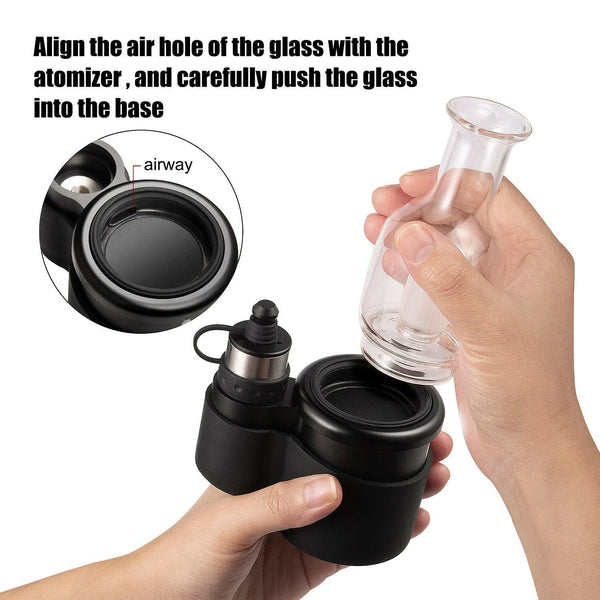
Place bubbler onto Core 2.1 Base at an angle, ensuring that the hole in the bubbler base aligns with the vapor pathway in the Core 2.1 base, then gently and firmly push it straight down into place.
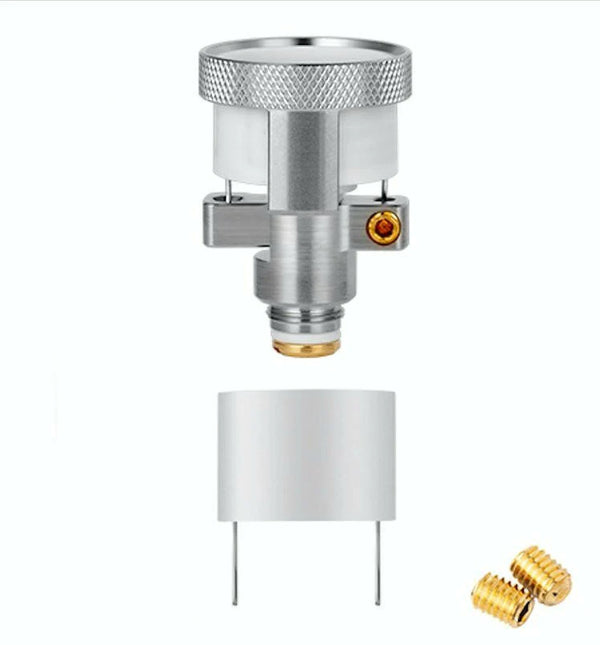
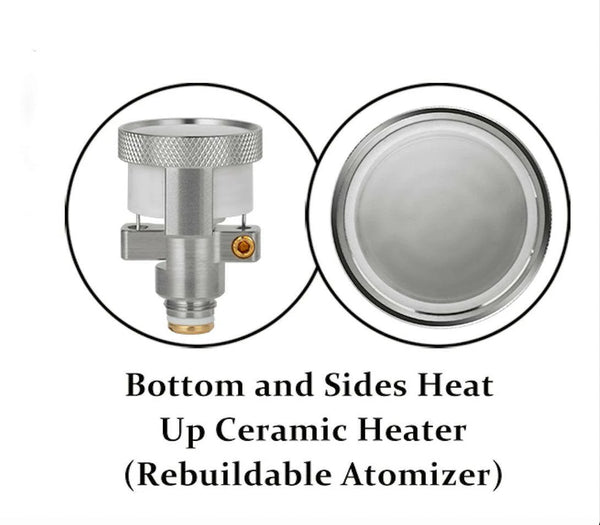
Check small screws in the atomizer base which hold the heater legs are done up fully. These need to be tightened so they are firm, but not so much that they cut the wire legs off the heater. When this is done screw the atomizer into the Core 2.1 base.
Place the carb cap tube on the base so that the wider angled side sits at the top, leaving the carp cab on the tether so that you can load concentrate onto the heater.
Select your desired heat setting (start low if you’re not sure).
Now that’s all done we get onto the vaping methods as there are different ways the Core 2.1 can be used!
Methods of Use
Cold Starts – This method is best for getting the most flavor and material preservation as you start using as soon as vapor is being produced. Using it in this way will cause the session temperatures to be slightly lower than otherwise because the air passing around the heater will decrease heating speed. You can start your session at any point, we suggest keeping an eye on the button flashes so that you can always begin after a set number of flashes, if desired, providing a very consistent and repeatable experience.
Load material into the heater
Press the fire button twice to activate session mode
When your concentrate starts to bubble begin using gently with the carb cap left off
When the Core 2.1 base vibrates place the carb cap back on and continue your use as you normally would
For subsequent sessions just use as desired, when the flavor leaves your material, the vapor becomes harsh or stops being produces press the fire button once more to cancel the session
If you still have material left inside at the end of the session simple hit the fire button twice again and start using immediately, no need to wait for the vibrate as your heater will already be close to adequate temperature. The second session will always run a little hotter than the first if it is started straight after
Hot Starts – This way allows the heater to reach full temperature for any given setting; so this method is best for getting the maximum cloud production and effects as quickly as possible.
Press the power button twice to activate session mode
Load your material onto your dab tool – rice size
Wait for the Core 2.1 base to vibrate indicating the session temperature has been reached
While using gently load the dab into the heater, then replace the carb cap and use as your normally would
For subsequent sessions you can carry on as desired. The same applies here with regard to finishing your session. If your material is finished hit the fire button once to cancel the session early, if you still have material left simply hit it twice when the session has ended to start it again!
As with cold starts, follow up sessions will always run a little hotter.
Manual – Self explanatory, load a small rice size dab into the heater and hold down the power button. Use as desired.
Manual hold can also be used instead of double pressing to finish a session or heat the heater for easier cleaning.
Cleaning
Wipe out heater with a Q-tip after each use
Clean the area around the RDA heater weekly to stop residue building up
Every month or so wipe out the airway with a Q-tip soaked in ISO – allow to fully dry before use
Replace bubbler water daily
To clean bubbler fill with hot water and shake to remove large residues. Soak in ISO to fully clean. Rinse thoroughly with warm water after soaking.
Safety Features
Over-charge
Over-discharge/Low battery
Over-heat
Low heater resistance
Short-circuit
No atomizer
Certifications
CE Certified
ROHS Certified Materials
FCC Certification
FDA Approved Silicone
UN 38.3 Certified Li-Ion Battery Pack.
Warning Lights – When your Core 2.1 base flashes three times it’s trying to tell you something…
Blue – Short-circuit warning
Green – No atomizer warning
White – Over-heat warning
Red – Low battery warning
Warranty information
For all warranty claims please contact the store you purchased from.
The Core 2.1 power base is covered by a one year manufacturer warranty against defects.
The Core 2.1 carry case is covered by a one year manufacturer warranty against defects.
The atomizer is covered by a one week manufacturer warranty against defects.
While atomizers are expected to last much longer than one week, they can be damaged by mishandling and misuse. We understand that not everyone will use the device daily or immediately so offer a one week warranty, from the date of delivery, to report any issue with your atomizer.

